
1. Overview
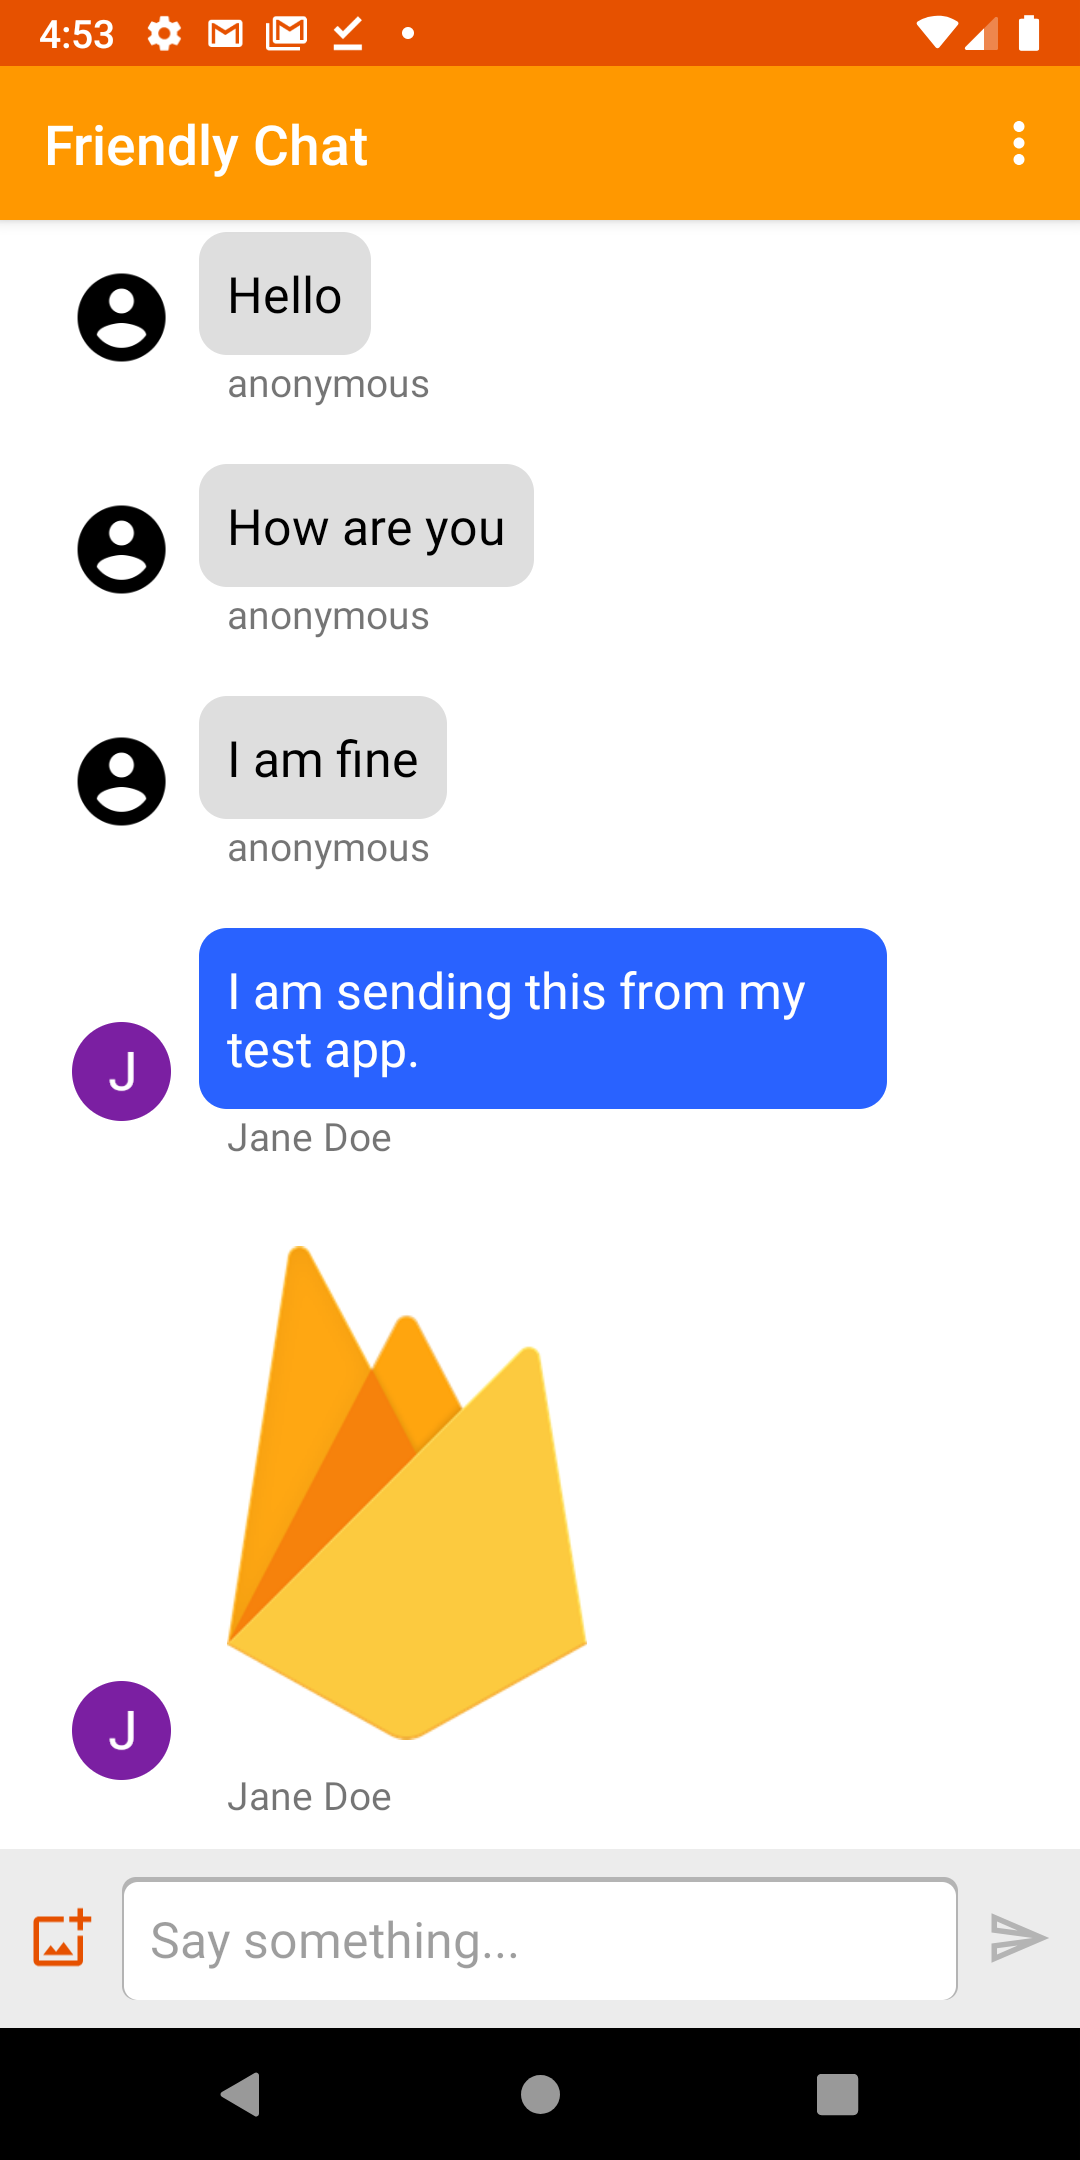
Image: Working Friendly Chat app.
Welcome to the Friendly Chat codelab. In this codelab, you'll learn how to use the Firebase platform to create a chat app on Android.
What you'll learn
- How to use Firebase Authentication to allow users to sign in.
- How to sync data using the Firebase Realtime Database.
- How to store binary files in Cloud Storage for Firebase.
- How to use the Firebase Local Emulator Suite to develop an Android app with Firebase.
What you'll need
- Latest Android Studio version.
- An Android Emulator with Android 5.0+.
- Node.js version 10 or higher (to use the Emulator Suite).
- Java 8 or higher. To install Java use these instructions; to check your version, run
java -version. - Familiarity with the Kotlin programming language.
2. Get the sample code
Clone the repository
Clone the GitHub repository from the command line:
$ git clone https://github.com/firebase/codelab-friendlychat-android
Import into Android Studio
In Android Studio, select File > Open, then select the build-android-start directory (  ) from the directory where you downloaded the sample code.
You should now have the build-android-start project open in Android Studio. If you see a warning about a google-services.json file missing, don't worry. It will be added in a later step.
Check dependencies
In this codelab all of the dependencies you will need have already been added for you, but it's important to understand how to add the Firebase SDK to your app:
build.gradle.kts
plugins {
    id("com.android.application") version "8.0.0" apply false
    id("com.android.library") version "8.0.0" apply false
    id("org.jetbrains.kotlin.android") version "1.8.20" apply false

    // The google-services plugin is required to parse the google-services.json file
    id("com.google.gms.google-services") version "4.3.15" apply false
}
app/build.gradle.kts
plugins {
    id("com.android.application")
    id("kotlin-android")
    id("com.google.gms.google-services")
}

android {
    // ...
}

dependencies {
    // ...

    // Google Sign In SDK
    implementation("com.google.android.gms:play-services-auth:20.5.0")

    // Firebase SDK
    implementation(platform("com.google.firebase:firebase-bom:32.0.0"))
    implementation("com.google.firebase:firebase-database-ktx")
    implementation("com.google.firebase:firebase-storage-ktx")
    implementation("com.google.firebase:firebase-auth-ktx")

    // Firebase UI Library
    implementation("com.firebaseui:firebase-ui-auth:8.0.2")
    implementation("com.firebaseui:firebase-ui-database:8.0.2")
}
3. Install the Firebase CLI
In this codelab you'll use the Firebase Emulator Suite to locally emulate Firebase Auth, the Realtime Database and Cloud Storage. This provides a safe, fast, and no-cost local development environment to build your app.
Install the Firebase CLI
First you will need to install the Firebase CLI. If you are using macOS or Linux, you can run the following cURL command:
curl -sL https://firebase.tools | bash
If you are using Windows, read the installation instructions to get a standalone binary or to install via npm.
Once you've installed the CLI, running firebase --version should report a version of 9.0.0 or higher:
$ firebase --version
9.0.0
Log In
Run firebase login to connect the CLI to your Google account. This will open a new browser window to complete the login process. Make sure to choose the same account you used when creating your Firebase project earlier.
4. Connect to the Firebase Emulator Suite
Start the emulators
In your terminal, run the following command from the root of your local codelab-friendlychat-android directory:
firebase emulators:start --project=demo-friendlychat-android
You should see some logs like this. The port values were defined in the firebase.json file, which was included in the cloned sample code.
$ firebase emulators:start --project=demo-friendlychat-android
i  emulators: Starting emulators: auth, database, storage
i  emulators: Detected demo project ID "demo-friendlychat-android", emulated services will use a demo configuration and attempts to access non-emulated services for this project will fail.
i  database: Database Emulator logging to database-debug.log
i  ui: Emulator UI logging to ui-debug.log

┌─────────────────────────────────────────────────────────────┐
│ ✔  All emulators ready! It is now safe to connect your app. │
│ i  View Emulator UI at http://localhost:4000                │
└─────────────────────────────────────────────────────────────┘

┌────────────────┬────────────────┬────────────────────────────────┐
│ Emulator       │ Host:Port      │ View in Emulator UI            │
├────────────────┼────────────────┼────────────────────────────────┤
│ Authentication │ localhost:9099 │ http://localhost:4000/auth     │
├────────────────┼────────────────┼────────────────────────────────┤
│ Database       │ localhost:9000 │ http://localhost:4000/database │
├────────────────┼────────────────┼────────────────────────────────┤
│ Storage        │ localhost:9199 │ http://localhost:4000/storage  │
└────────────────┴────────────────┴────────────────────────────────┘
  Emulator Hub running at localhost:4400
  Other