Setting up Okta to work with Tailscale
To activate Okta for your domain, follow the instructions below.
Contents
Supported Features
- Single Sign-On (OpenID Connect) initiated by Okta
Requirements
- Install the Tailscale app from the Okta Integration Network.
Configuration Steps
-
On the Okta admin page, select the Tailscale application and select the Sign On tab.
- Copy the values of Client ID and Client secret.
- Copy the issuer published in the OpenID Provider Metadata. Typically, this is the Okta URL. To find this URL, select OpenID Provider Metadata, look for a line that contains
"issuer:", and then copy the URL listed on that line (without the quotes). For example, it will look likehttps://dev-123456.okta.comor similar.
-
Switch your Tailscale identity provider to Okta. For information on how to do that, refer to Switch identity provider. Note that the domain name used to log into Tailscale should match the email addresses of users assigned to this app.
-
Give users and/or groups access to the Tailscale app:
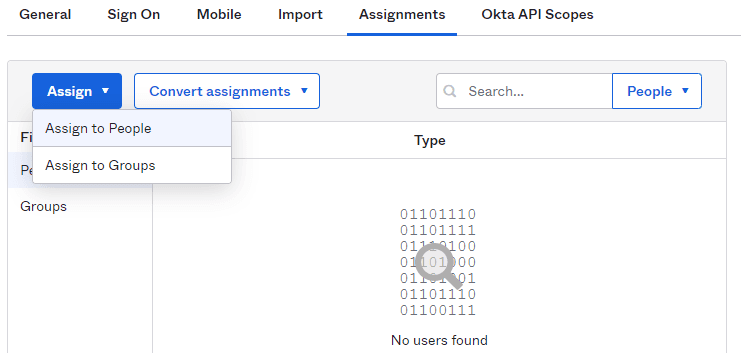
Note that if you make changes to a domain already activated for Okta, or when you migrate an existing tailnet from another identity provider to Okta, no custom link is sent—your activation finishes without requiring this step.
If your organization has defined custom access policies, verify that the Tailscale app is authorized for the openid, email, and profile